

You're about to start an amazing journey.
You just got a beautiful model kit, and while looking at all those colorful runners, filled with little plastic parts, you may be wondering: "What's next?".
Well, today we will check one the most important techniques that you should learn:
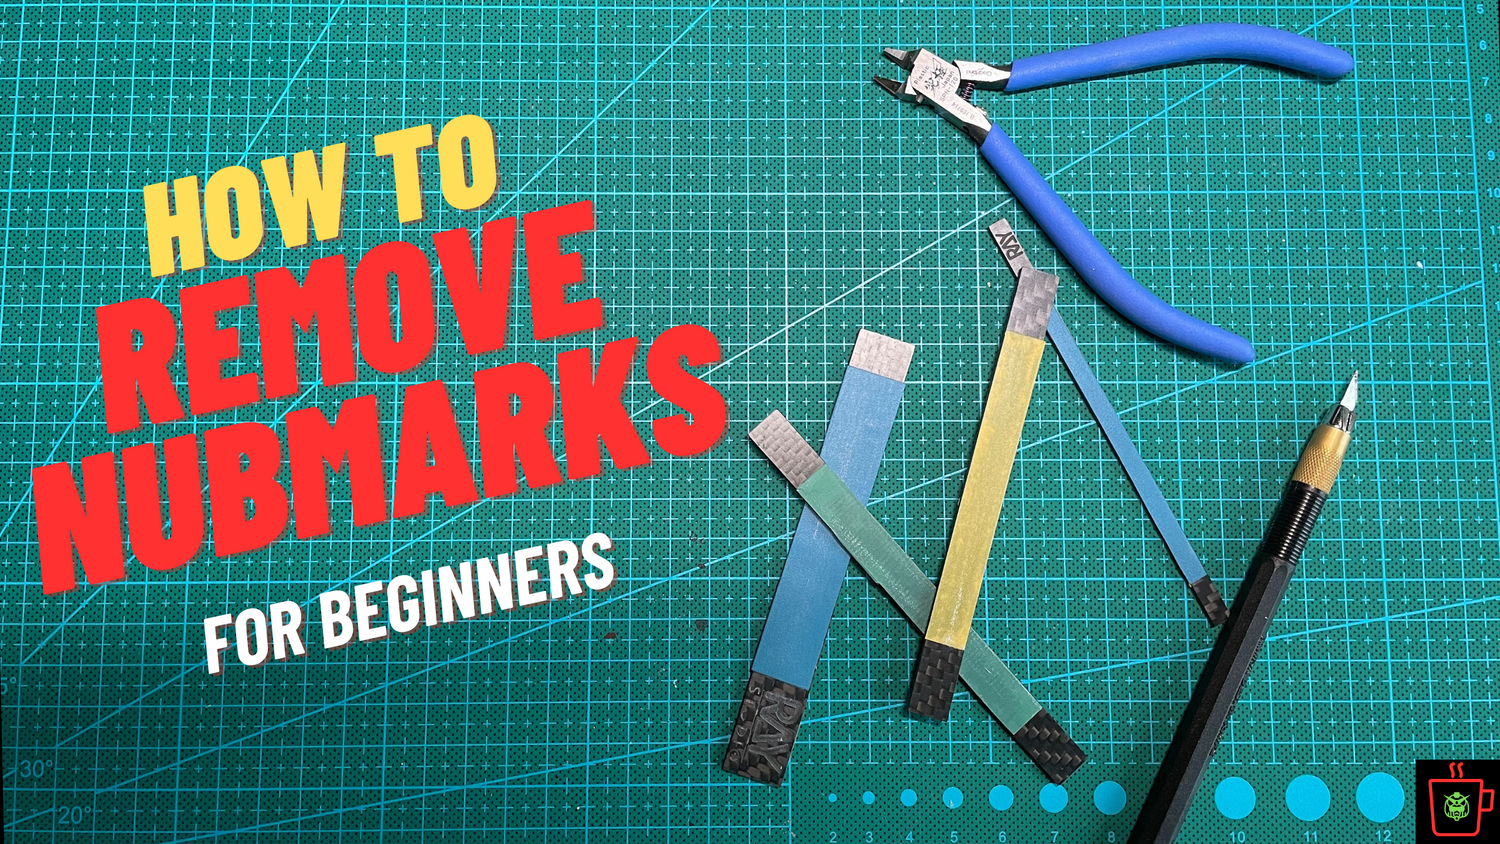
HOW TO REMOVE NUB MARKS
One of the issues that every Gunpla builder face is the fearsome NUB MARKS.
They appear after you cut the parts off the runners. You may notice a white mark, almost impossible to erase.
That happens when the plastic gets stressed due to too much force applied to it. It is really important to grasp the basic techniques to avoid this situation.
- Do your initial cut a couple of millimeters from the part. The unavoidable stress will not reach the part, avoiding that white mark to reach your model.
- Start shaving off the nub a bit at the time with a very sharp blade. You can use an hobby knife or, highly recommended, a single blade nipper.
- Remove the last imperfection with sanding papers (for flat surfaces) or sanding sponges (for curved surfaces). It's important to start from a lower grit (600 or 800) and move to an higher one (1500/2000) to smooth out the surface.
If done correctly you should find yourself with a nice and smooth part, ready to be assembled!
[Button_1]
Check out my video tutorial below!
#gunpla, #model kit, #mecha model kit, #gunpla tutorial, #nubmark removing, #gunpla tools, #gunpla beginner

Leave a comment
All comments are moderated before being published.
This site is protected by hCaptcha and the hCaptcha Privacy Policy and Terms of Service apply.